There are 4 steps to creating a project:
- Add a Project
- Add a Drawing
- Add a Position
- Add a 360° Image
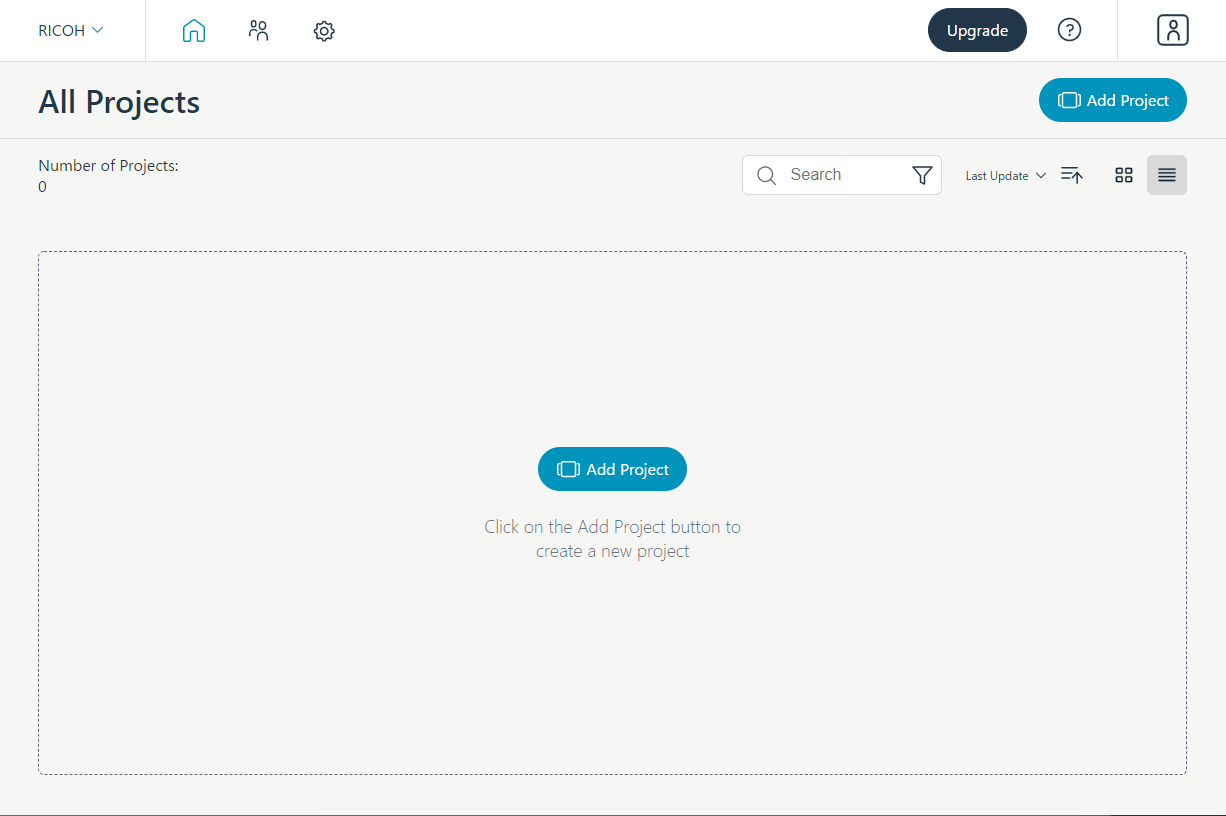
1. Add A Project (Team admin's only)
Select Add Project
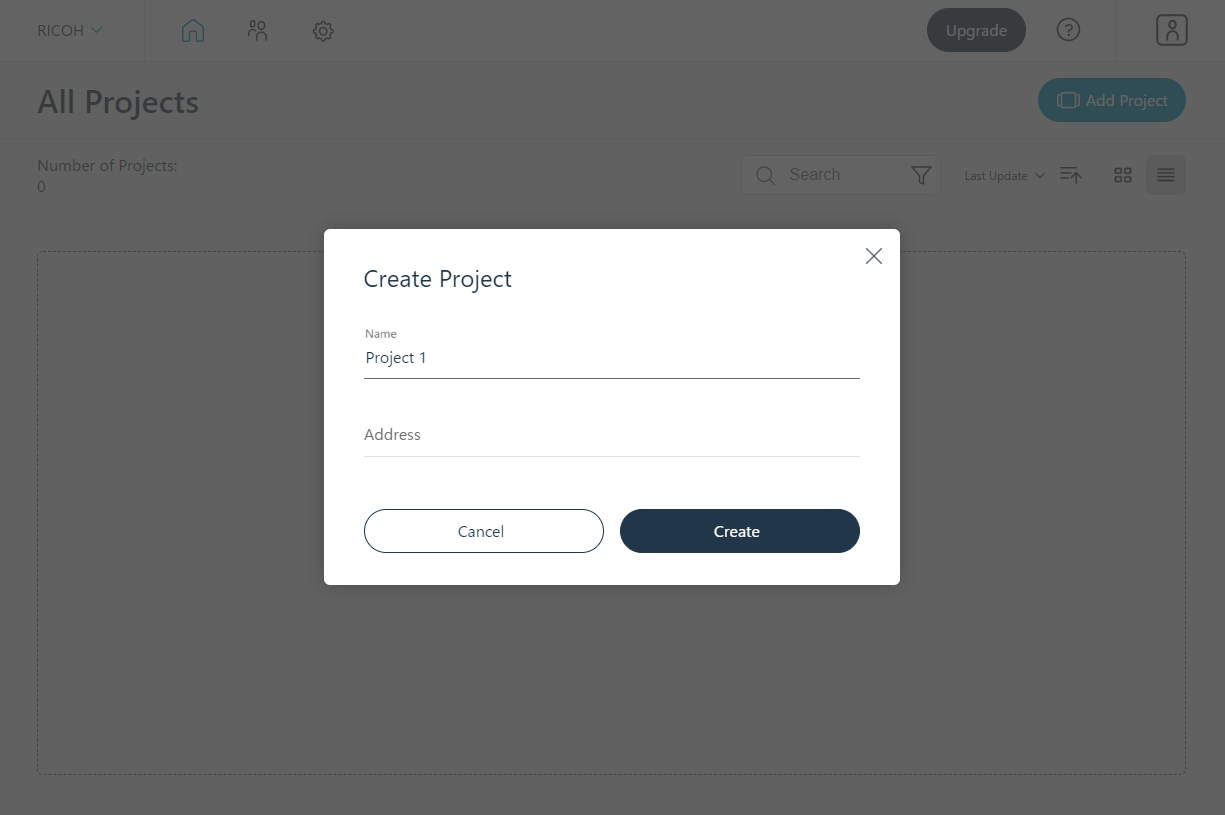
Add your project information
-
- Add your project name
- Add your address (not required)
- When you have finished your project information, select Create
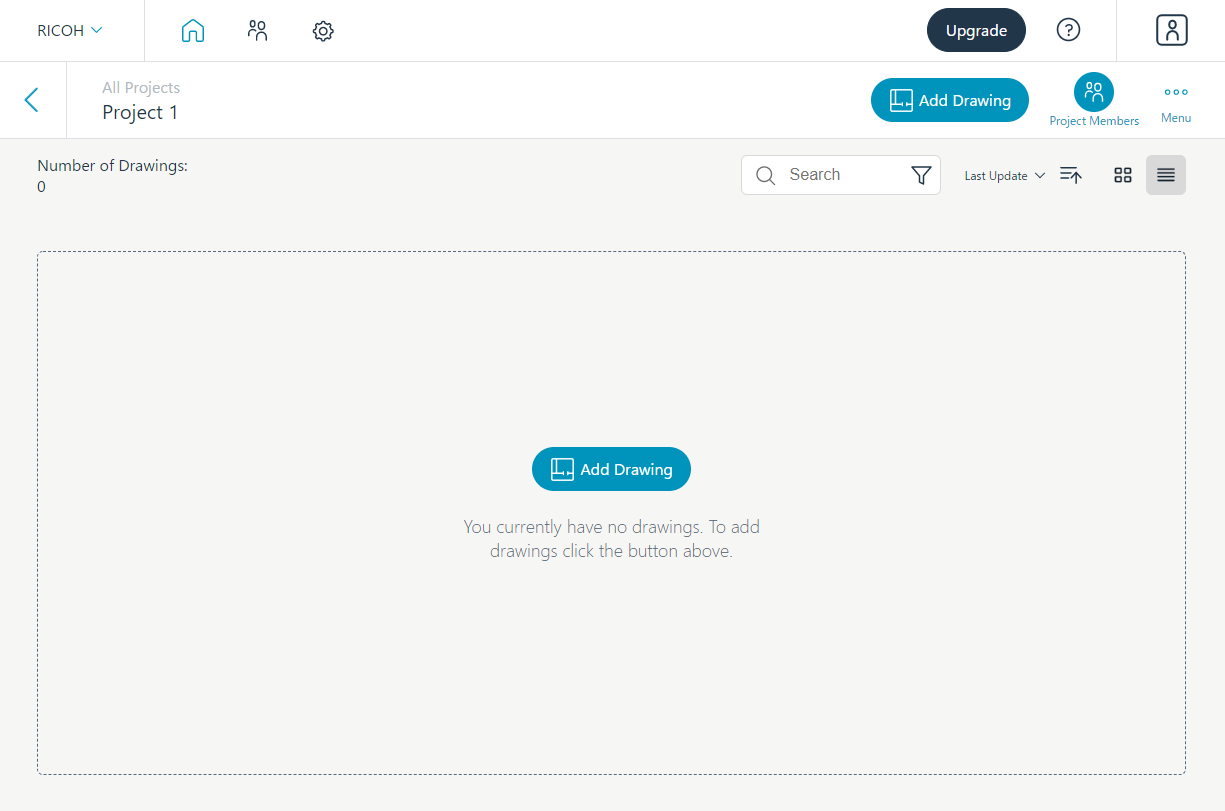
2. Add your Drawing
Select your project
Select Add Drawing
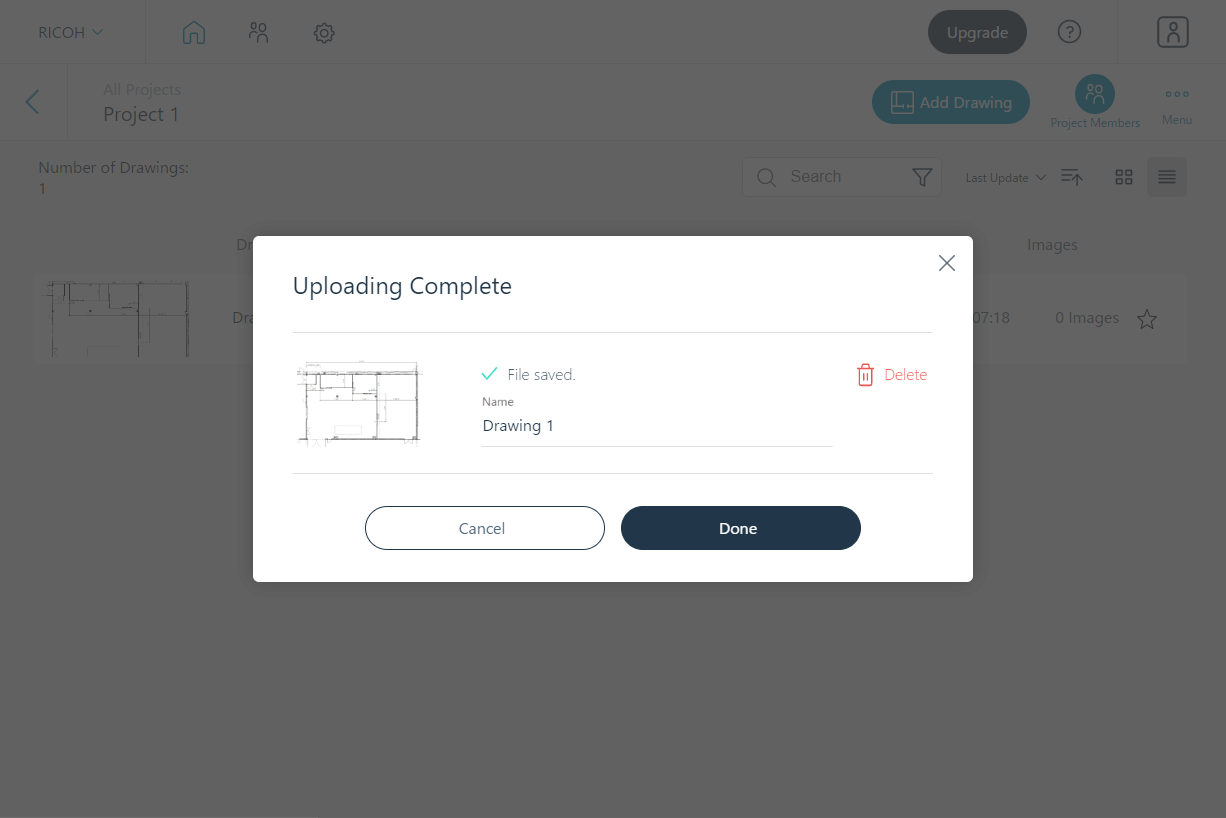
You can upload a drawing Jpeg image, PDF or a blank drawing
Type the name of your drawing and select Done
3. Add Position
Select your drawing
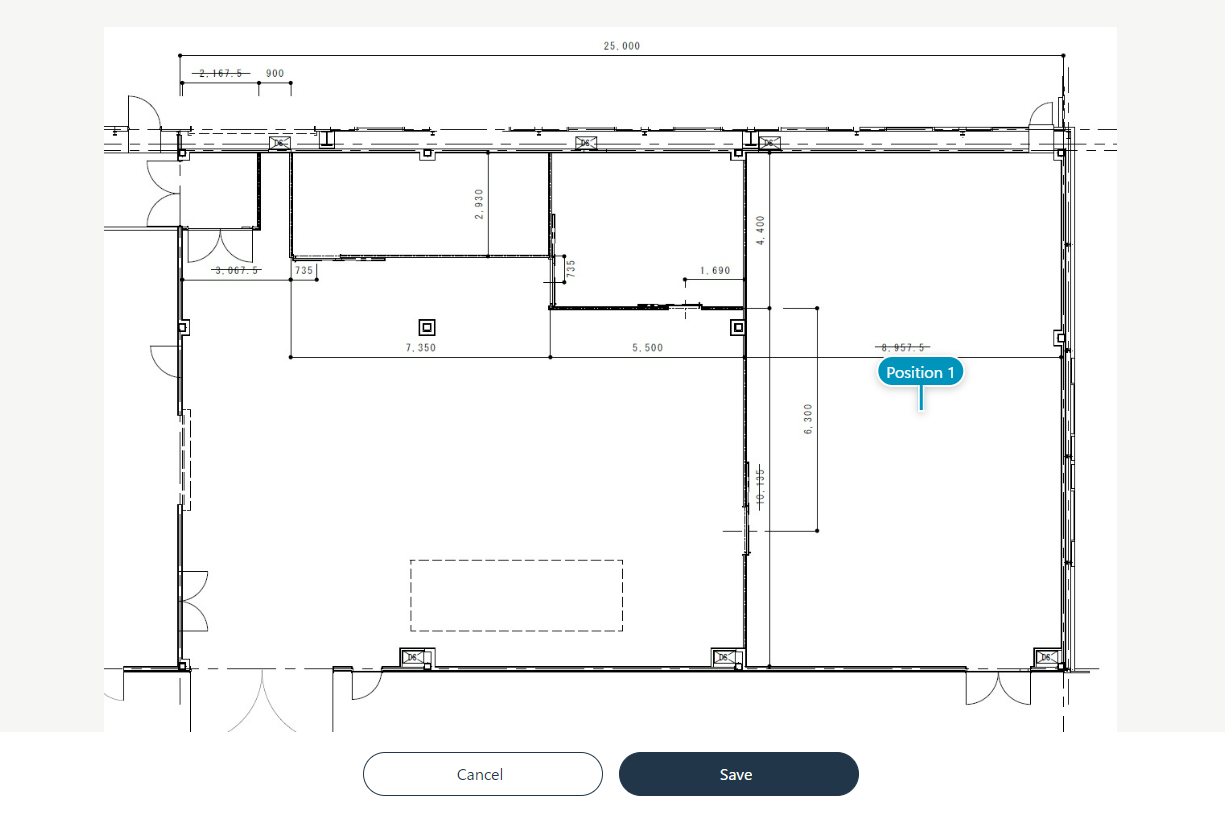
Select Add Position
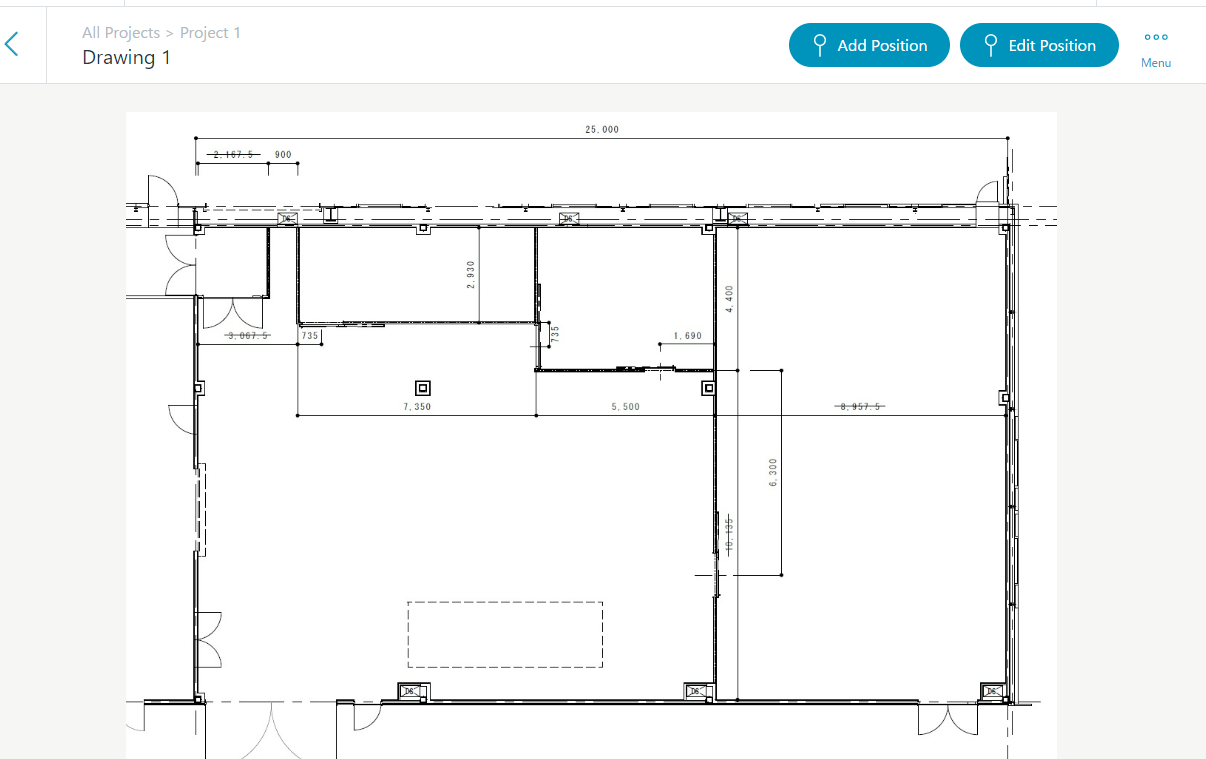
- Place a cursor over the position on your drawing where you are going to take/add a 360° image
- Select Save
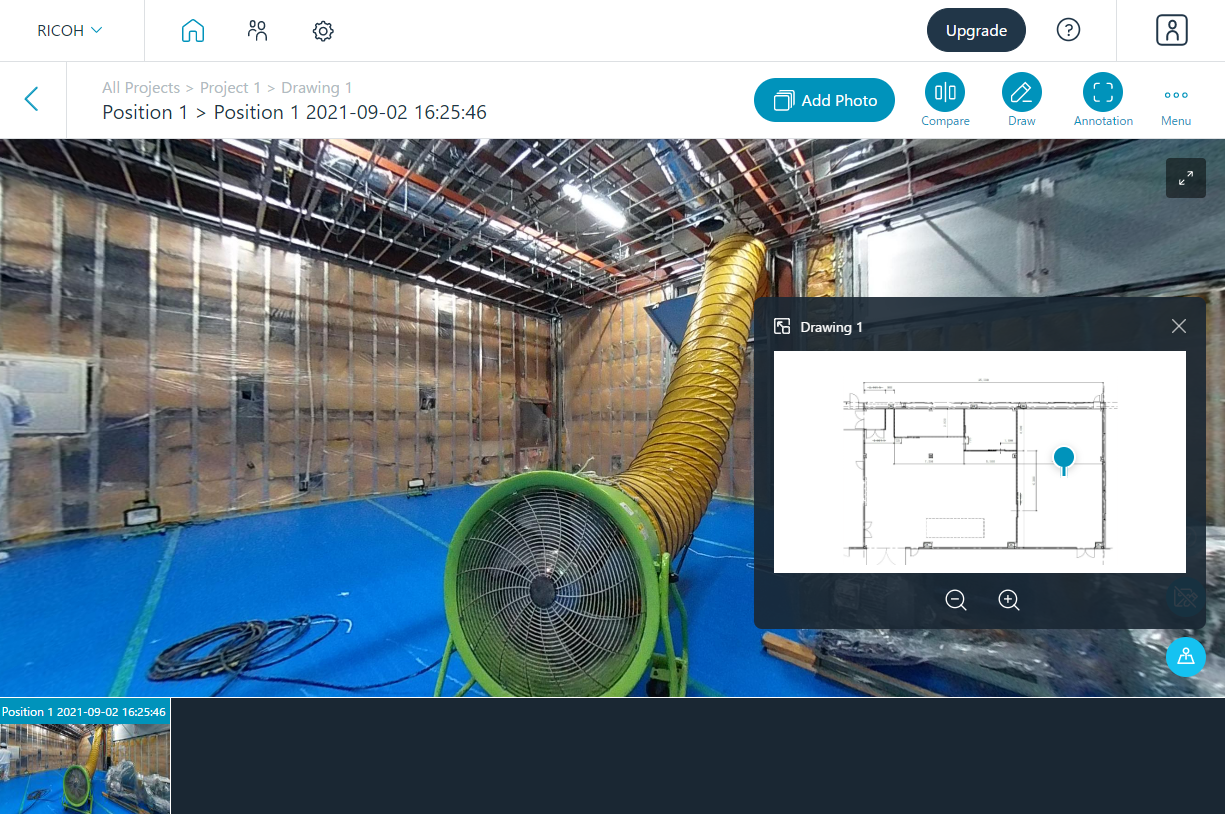
4. Add 360° Image
Select the "Add Photo" button
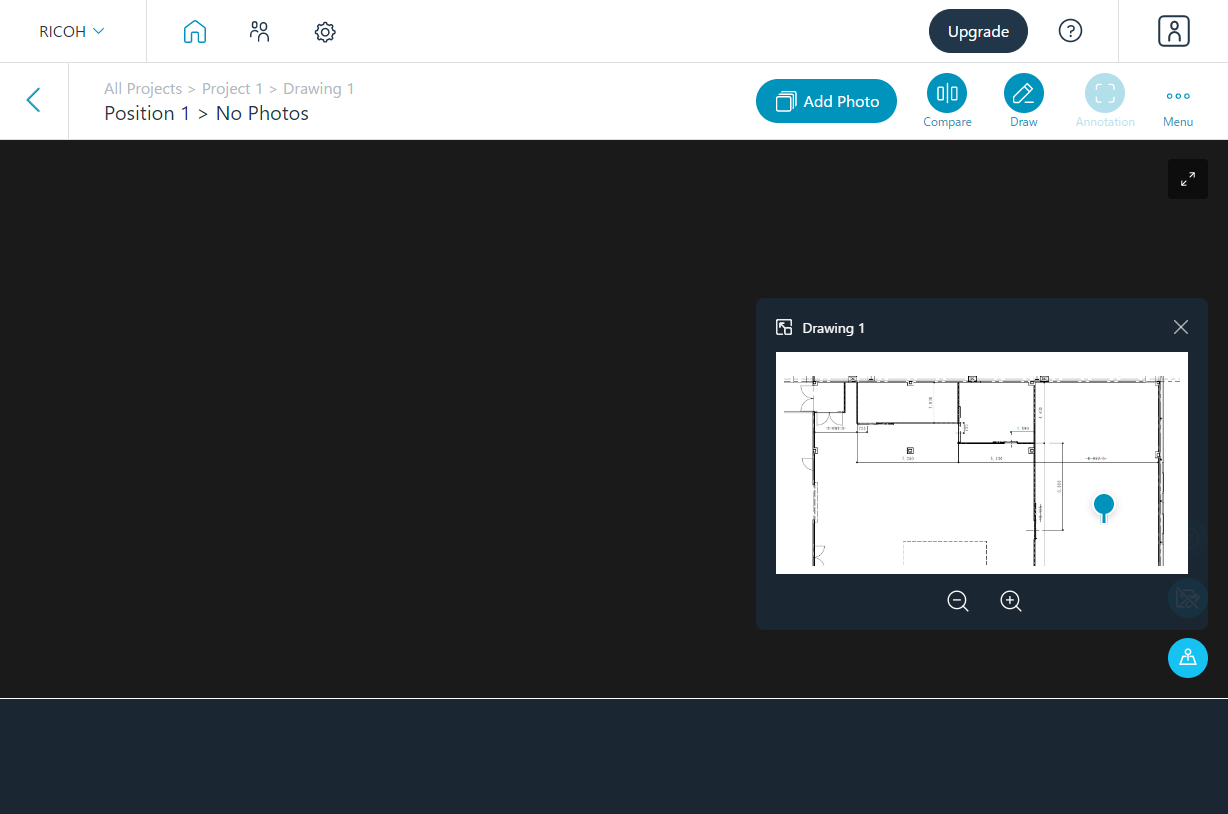
Select the folder that has your 360° image, select the image and Done
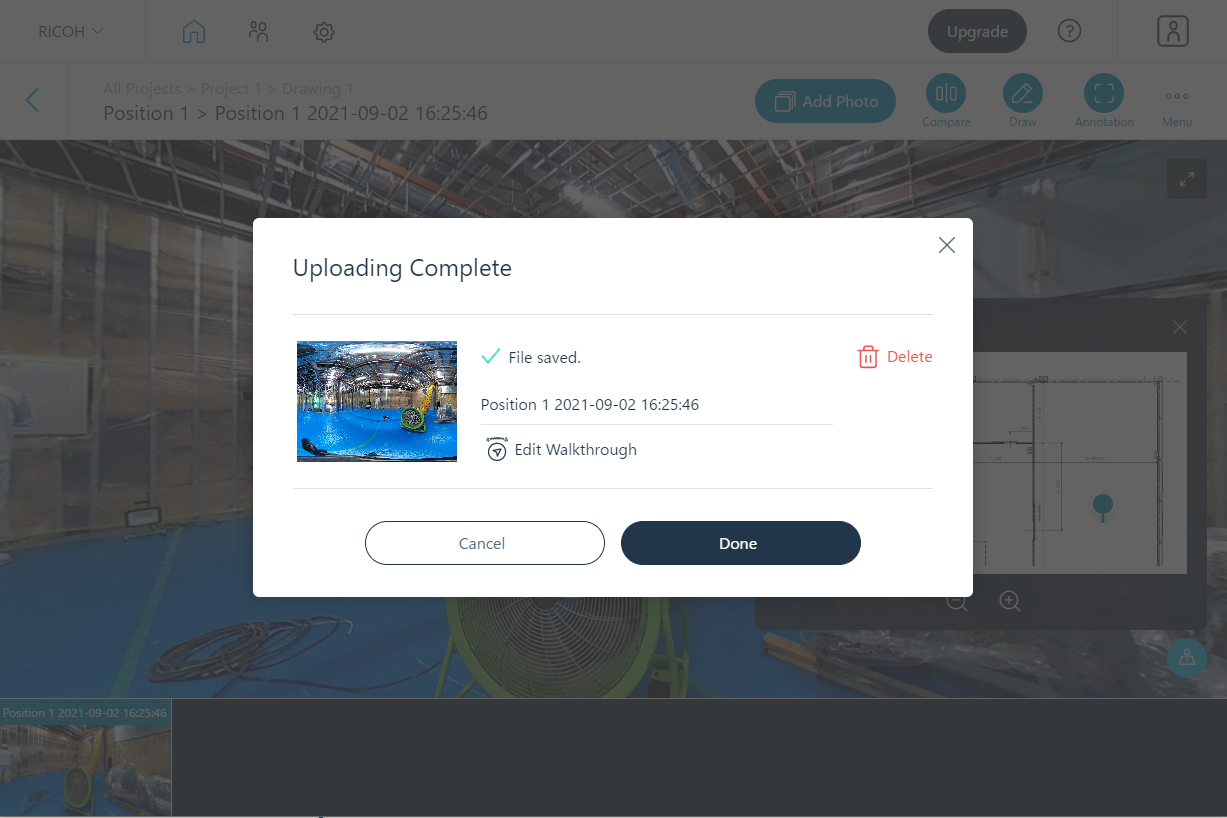
Your 360° image has been added!
Repeat above steps 3 and 4 to digitize your construction site with all of your 360° images!